
Every great ride has two bookends, which include the warm-up and the cool-down. One prepares your body to perform, the other helps it recover. Skip either, and you’re short-changing your results, increasing your risk of injury, and making your workouts feel harder than they need to.
As a certified cycling instructor for over twenty years, I’ve watched countless riders hop on the bike cold, charge straight into the opening song, and then stop abruptly when the final work song ends without any consideration of the cool down. In both cases, the aftermath is predictable. These riders burn out quickly during the most intense parts of class and sometimes express dizziness post-ride. Several even experience lingering soreness for days after their workouts and do not understand why. All of these symptoms are preventable by performing a quality warm-up and cool-down.
That’s why I always encourage my riders never to skip my pre-ride warm-up or post-ride cool-down routine that works for every level and every ride type. In this article, I’ll share why warming up and cooling down matter, exactly how I structure these short rides, and how you can adapt them for your workouts.
Why Warm-Ups & Cool-Downs Matter
The warm-up gradually wakes up your muscles, joints, and cardiovascular system, getting your body prepared before the real work starts. The cool-down helps you transition out of high intensity, lowers your heart rate and respiratory rate, and resets your body for your next workout. Together, they’re your performance and recovery insurance policies. Skipping either prevents you from getting the most out of your workout.
For example, when I taught in Phoenix, I had two regular riders, whom we will call Matt and Sarah. They both trained extremely hard and came to all of my cycling classes each week, but hit the same wall for different reasons.
Sarah skipped warm-ups and came in right as I was turning on the music. She would ride like the wind for the first few songs, and then she would struggle to keep form and hold pace. Matt would skip the cool-downs and would start wiping down his bike as soon as the cool-down music turned on. He often complained about stiff muscles and soreness that lasted for days.
After some convincing, I was able to talk Sarah into coming to class five minutes early and Matt into staying for the cool-down. The changes for these riders were dramatic. Sarah was able to hold pace throughout the entire class and saw her metrics move in the right direction. Matt noticed a significant change in muscle soreness and an increase in his flexibility. He started to enjoy the post-ride stretches and was able to add additional classes to his weekly training schedule since he was no longer fighting prolonged soreness.
If you find yourself in a similar situation as Sarah or Matt, read on to learn how to incorporate my warm-up and cool-downs in your training sessions.
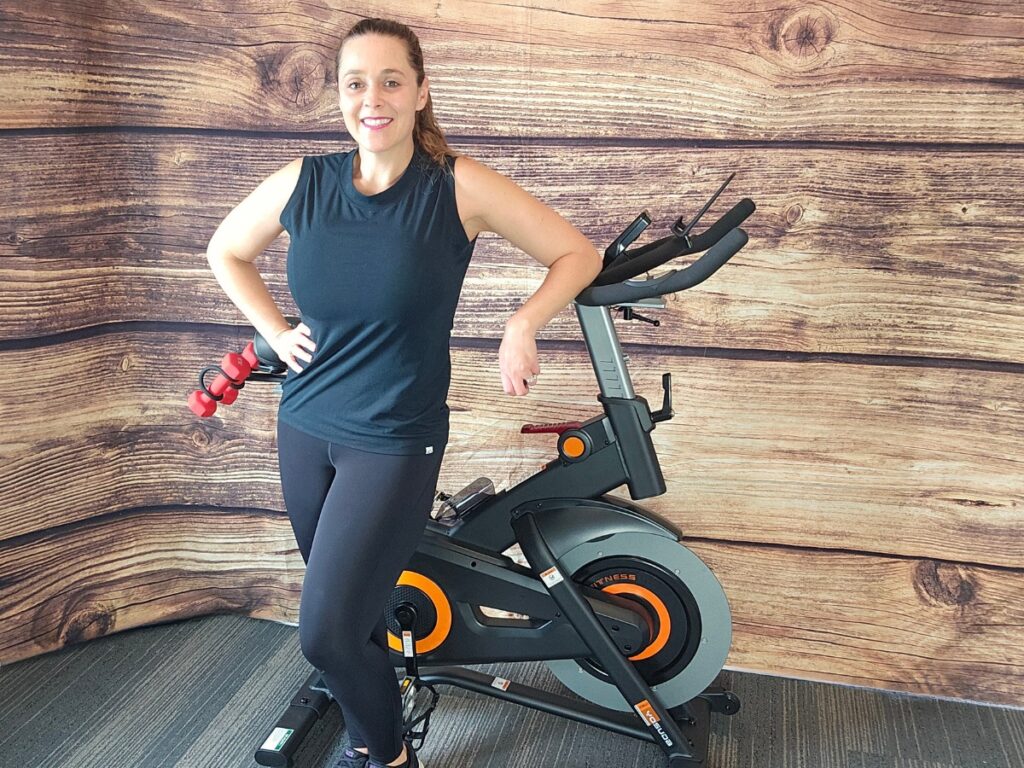
My 6-Minute Stationary Bike Warm-Up Plan
Below is a sample stationary bike warm-up plan that I use when it is not really cold outside. During the colder months, I will increase this warm-up by two minutes or keep my first work song at a lower intensity to ensure that my riders are warm.
Below is a sample stationary bike warm-up plan that I use when it is not really cold outside. During the colder months, I will increase this warm-up by two minutes or keep my first work song at a lower intensity to ensure that my riders are warm.
Total Time: 6 minutes
Minute 1 – Seated Flat
Resistance: Light- You should feel as if the ground is beneath you. While the gear level is light, you should still not feel like you are pedaling downhill.
Cadence: 80–90 RPM
Purpose: Gently raise heart rate and get joints moving. Relax your shoulders, keep your elbows soft, and grip lightly.
Minutes 2–3 – Seated Flat
Resistance: Light
Cadence: 90-100 RPM
Purpose: Engage quads, hamstrings, and glutes without breathlessness. Focus on smooth pedal strokes pressing through the ball of your foot.
Minute 4 – Standing Climb
Resistance: Moderate
Cadence: 60–80 RPM
Purpose: Activate stabilizing muscles in your core and glutes. Keep your hips toward the front of the saddle, grazing the saddle on every stroke and focusing on lifting the tailbone.
Minutes 5 & 6 – Cadence Surge
Resistance: Light
Cadence: 100–110 RPM for 20 seconds, recover at 80–90 RPM for 40 seconds (repeat twice).
Purpose: Prime the cardiovascular system for bursts of effort.
Minute 7 – Settle Into Ride Pace
Resistance: Adjust to your starting workout resistance (This is usually a hill for me with moderate intensity)
Cadence: Match your planned ride intensity (60-80)
Purpose: Transition seamlessly into the main workout.
My 6-Minute Stationary Bike Cool-Down Plan
Minute 1 – Light Spin
Resistance: Light (Base Gear)
Cadence: 80–90 RPM
Purpose: Start lowering heart rate while keeping blood moving.
Minutes 2 & 3 – Slow It Down
Resistance: Very light (1/2 Base Gear)
Cadence: 70–80 RPM
Purpose: Let breathing return to normal, relax muscles.
Chest & Shoulder Opener
Interlace fingers behind your back, straighten arms, and gently lift.
Purpose: Counteract cycling posture and open the chest.
Minutes 4–6 – Off-Bike Stretches
Calf Stretch: Place your toe on the front floor bike stabilizer, while keeping your heel on the floor. Count to ten and switch sides. (I prefer to stretch calves on the floor compared to on the bike, as it poses a lower risk of injury)
Hamstring Stretch: Extend one leg forward and place it on the floor, crossbar, saddle, or handlebars (depending upon your flexibility), hinge at the hips. Hold for 10 seconds before switching legs.
Quadriceps Stretch: Stand, hold ankle behind you, gently pull toward glutes (switch legs)
Glute Stretch: While holding onto the handlebars, place your right ankle above your left knee and hinge at the hips into a seated position. Hold for a count of ten and then stand and switch legs.
Purpose: Release tension in primary cycling muscles.
Full Body Stretch
Place feet shoulder-width apart and knees bent with hands on the handlebars. Keep spine in neutral position. For a deeper stretch, straighten knees. From a bent knee position, bring your hands above your knees one at a time and slowly roll up one vertebra at a time.
Tips for Maximizing Both
Common Mistakes to Avoid
How to Adapt for Different Riders & Session Types
- Beginners: Keep resistance light, shorten standing climbs, and focus on form.
- Short workouts: Compress each segment by 30 seconds but keep the structure intact.
- High-intensity sessions: Add an extra minute or two to warm-up and cool-down for better performance and recovery.
- Endurance rides: Spend more time stretching hips, calves, and lower back post-ride.
Conclusion
A warm-up gets you ready to ride your best. A cool-down helps you feel good afterward and ride strong again tomorrow. Together, they can transform how your body performs and recovers.
Try this complete plan, adapt it to your needs, and see how much stronger and happier you ride.