
The rapid acceleration of technology over the last 20 years has seen enormous tech leaps that have crossed over to the sporting industry. One such area that has seen significant advancement is cycling.
Lighter, more robust frames, wheels, and components mean cyclists are riding further and faster than ever. But one of the most considerable improvements and advancements in this tech hasn’t actually been the bike itself; it’s been Indoor Smart Trainers; yep, that’s right, indoor trainers are now “smart”.
Whether it’s on an ocean-side road, we all love riding outside through rolling hills with magnificent wineries on each side or, if you live where I do, climbing 1500 meters above sea level. The big downside to where I live, though, is the -15c winter days for three months back to back.
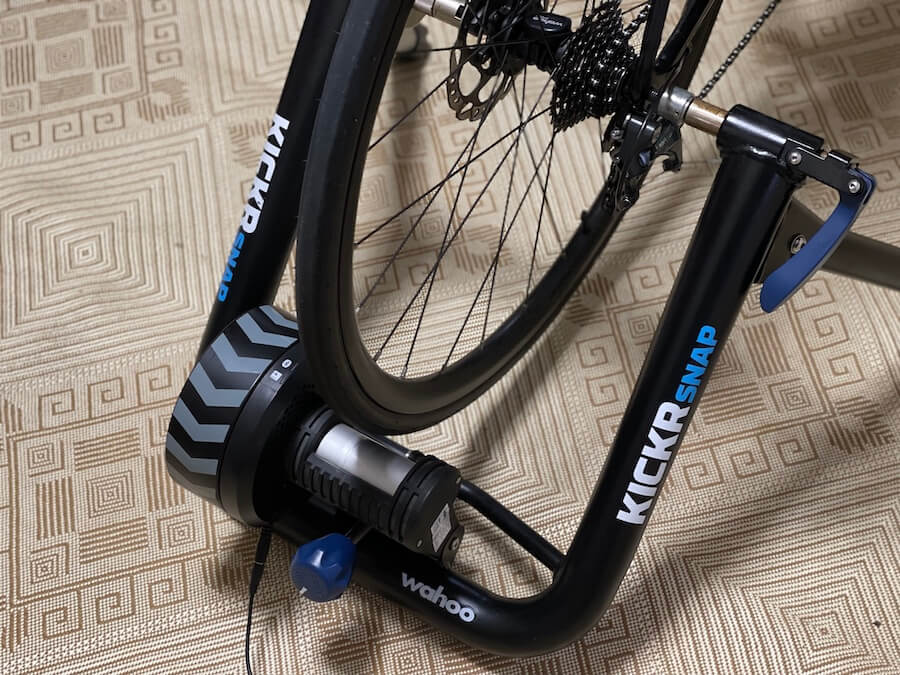
This is why my Wahoo Kickr Snap is my lifesaver during those long cold, icy winters. Not only do I get to keep riding, but in actual fact, I find my fitness drastically increases during the winter months.
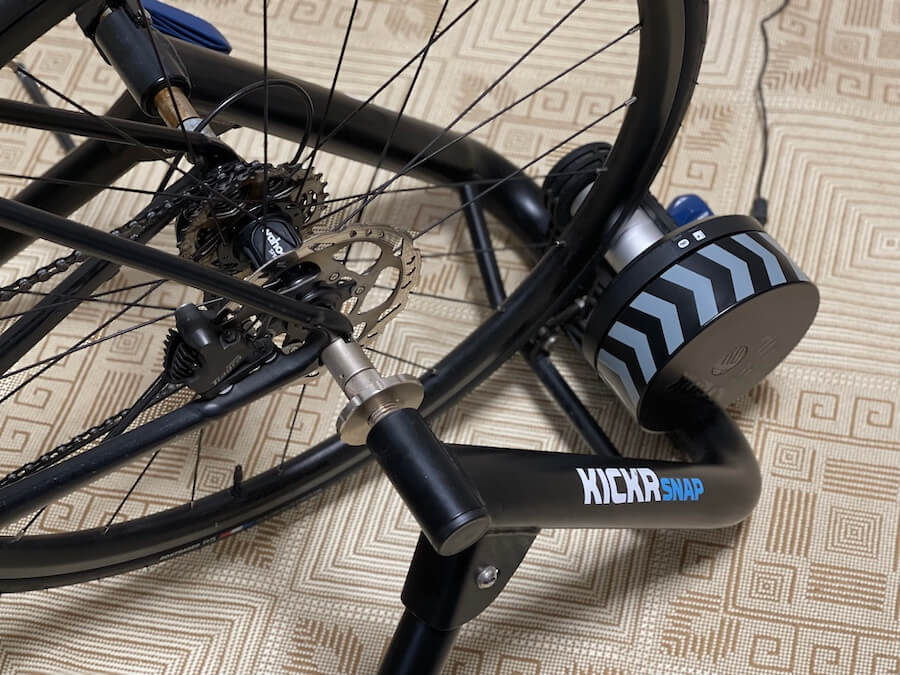
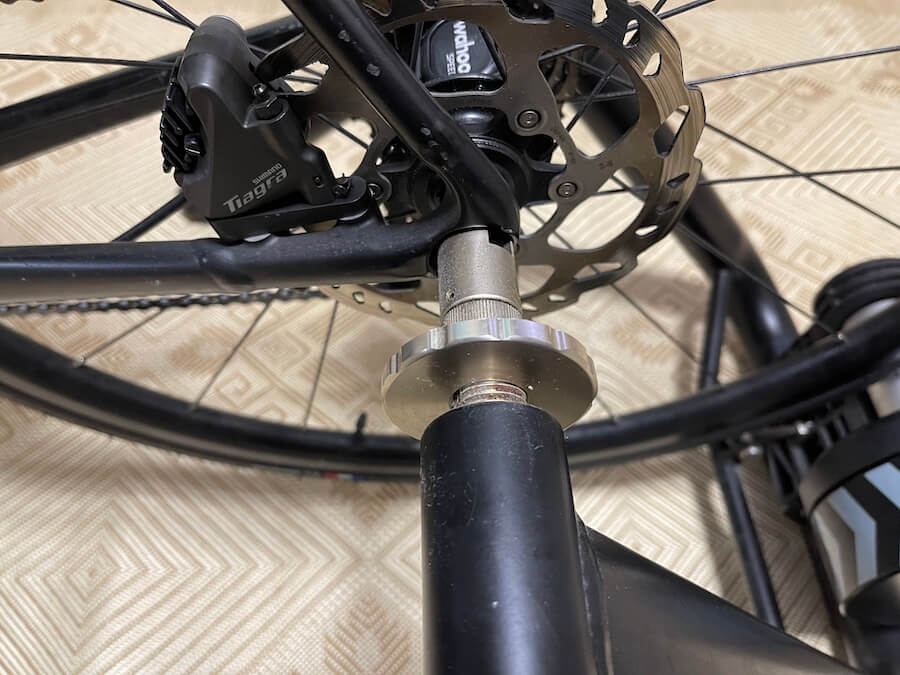
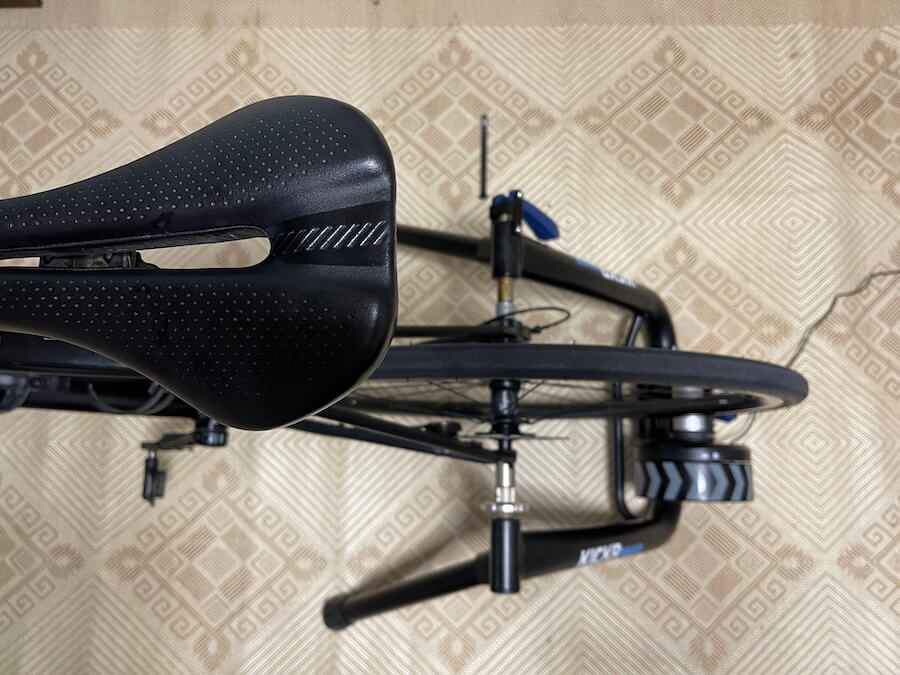
Check my KICKR Snap Set-Up!
In this article, I will provide you with a personal review of what it’s like training on the Wahoo Kickr Snap, pros, cons, features, and finally, the benefits of syncing your trainer to my favorite app, Zwift.
Let’s get started.
Wahoo Kickr Snap Bike Trainer
Set-up Guide from KICKR
The Wahoo Kickr Snap bike trainer setup is very straightforward and should take no longer than 10 minutes.
Detailed Review Of Kickr Snap Features
Sound Or Lack There Of
Let’s face it, one of the biggest complaints most riders have regarding indoor trainers is they can be incredibly noisy.
It’s not just indoor bike trainers, though; treadmills, air bikes, rowers, and basically any piece of home gym equipment you can think of makes a racket. I can speak from experience; I have a treadmill next to the trainer, and by golly, does it make some sound? Just ask my wife.
Here’s the good news, though, the Wahoo Kickr Snap is very, very quiet; it’s not silent, obviously, but for a wheel-on indoor trainer, it’s relatively noise-free.
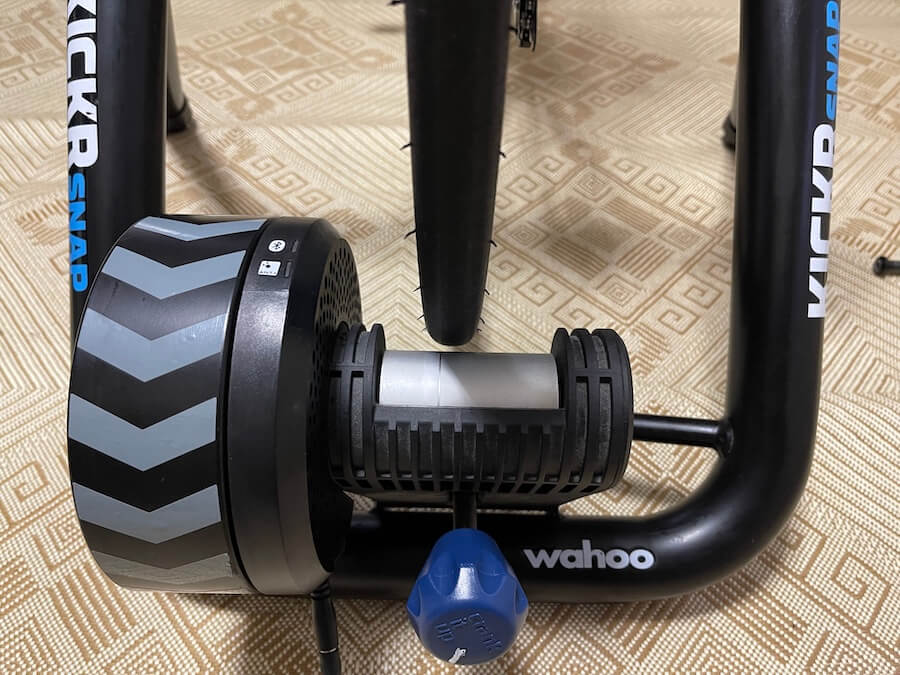
The flywheel is a sturdy 5kgs heavy, and this helps keep the noise down while providing for a comfortable, smooth-riding experience. I don’t use headphones while training, and I’ve noticed when using the Kickr Snap, I don’t need to turn the volume up full bore on my Bose Speaker.
Connectivity
The Wahoo Kickr Snap has all the latest technological features in terms of connectivity. Once up and running and provided you have signed up and downloaded the appropriate apps, the Kickr Snap will automatically connect to your Smart TV, Laptop, Desktop, and Cell Phone.
This makes the Wahoo Kickr Snap very straightforward to use, even for those who don’t have a good grasp on tech. It literally takes 5 minutes, and your up and running depending on the strength of your wifi and Bluetooth connections.
It’s important to mention the Wahoo Kickr Snap will also connect to other third-party apps such as Summerfest.
Accessories
I love the Wahoo Kickr Snap because the resistance levels can adjust to simulate climbing; in fact, the Kickr Snap can simulate climbs of 12%. Once you start the climb, the Kickr automatically adjusts the flywheel’s resistance, and the torture begins.
Kickr Climb Indoor Grade Simulator
Wahoo does offer several accessories that can complement your trainer, one of them being the Kickr Climb Indoor Grade Simulator.
The simulator does precisely what its name suggests; it simulates the climb’s gradient by moving the front of your bike up and down. I don’t have one but have used one a few times, making the experience much more realistic.
However, they are not cheap, so that’s something to take into consideration.

Fan
Anyone who has trained indoors knows that one of the most important things to have is a fan. Staying cool keeps your body temperature down and gives your mind that little bit of relief its needs from the heat.
The Wahoo Kickr Headwind Bluetooth Fan might be seen as a gimmick; let’s be honest, a fan is a fan; however, according to Wahoo, “the fans Targeted Airflow Pattern imitates the configuration and position of a cyclist’s body while riding so you can obtain the maximum cooling effect. With speeds of over 30 mph, you’re able to keep cool during even the hardest training sessions.”
Although both of these accessories are fantastic, they only really appeal to the most dedicated rider because of the expensive price point. Personally, I would much rather spend the same amount of money on components for my bike or other various upgrades.
VERDICT; Is The Wahoo Kickr Snap For Me?
As I said from the very beginning of this article, the review was solely based on my experience using the Wahoo Kickr Snap pretty much day in day out for about two years now.
The joy of riding outside, in my opinion, can never be replaced; the fresh air, the calmness of listening to the noises coming from the bike and the road, and the enjoyment of riding with friends. However, that being said, I absolutely love my Wahoo Kickr Snap.
If you’re already lucky enough to have a road bike or even a mountain bike that’s compatible with the Wahoo Kickr Snap, then you’re pretty much set to go. If that’s the case, then purchasing a smart indoor trainer is much less expensive than buying an indoor spinning bike.
Price Point
Its price point is middle of the road, and it makes perfect sense to purchase if you are :
- New to cycling
- Limited in terms of budget
- Recovering from injury
- Have a partner who also may want to use it
The trainer folds away easily and takes up very little space, although I’m lucky enough to have a dedicated “training cave” so my trainer stays in position all year round.
Obviously, other trainers on the market are better, but you have to remember they also cost more than double the Wahoo Kickr Snap price. Personally, they are not worth the extra money; as I said, I would rather use that money to upgrade my bike or put it towards a new bike.
Summary
Setup time is literally 10 minutes, and that includes everything from mounting the bike to connecting to your favorite app. You can take the trainer up a notch, as I mentioned, by purchasing the Kickr Climbing Simulator and The Wahoo Headwind Bluetooth Fan but again, these are purely optional and by no means necessary.
So at the end of the day, I would strongly recommend the Wahoo Kickr Snap to riders of all abilities. If you’re not someone who stresses over every little data point being 100% spot-on, then this trainer really is value for money.
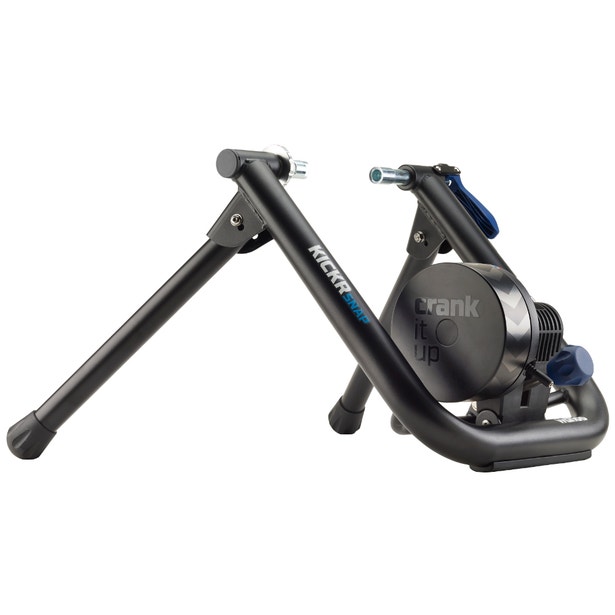
A convenient, easy-to-set-up wheel-on smart trainer with the genuine Wahoo ride experience. It comes with SNAP's flywheel technology that generates the same resistance experienced when riding outdoors.
Comparison With Kickr & Kickr Core
If you are reading this article, you are more than likely aware of the extensive range of products Wahoo produces; Everything from trainers to sensors.
Two of those trainers are the Wahoo Kickr and The Wahoo Kickr Core; Wahoo also has a Kickr Bike set for release later to be announced. Both these trainers are held in very high regard amongst the most hard-core cyclists, and they are even used by the majority of the Professional cycling teams we know and love.
Power Output:
- The Wahoo Kickr 1800W
- The Wahoo Kickr Core 1800W
- The Kickr Snap 1500W
Amazingly some trainers have even higher power outputs, but it’s always important to remember that higher power output is not always better. Accuracy and reliability are two of the most critical data points to track when looking at smart indoor trainers. The Wattbike Atom puts out an immense 2000W.
Naturally, the Wahoo Kickr Snap puts out less than the trainers mentioned above, but at 1500W, it provides more than enough power for even the most hard-core rider; ok, maybe not Mathieu van der Poel.
Pricing
- The Wahoo Kickr $1200
- The Wahoo Kickr Core $1900
- The Wahoo Kickr Snap $600
{prices are subject to change, so please check before making your purchase for the latest up to date prices}
It’s important to mention here that even though the Kickr Core is the more expensive model, a cassette or wheel block is not included, strangely enough; however, you can purchase these accessories and more separately.
Flywheel
- The Wahoo Kickr 16lbs or 7.2kgs
- The Wahoo Kickr Core 12lbs or 5.4kgs
- The Wahoo Kickr Snap 11.7lbs or 5.3kgs