As a cycling instructor of around five years, I have been lucky enough to teach many indoor cycling enthusiasts. Over that time, I have learned a lot of lessons ready to pass on to improve your experience.
I can’t stress enough to new and existing cyclists the importance of setting your bike up properly before a class. If you want to have the best time possible when you get on a spin bike, then taking 5 minutes to get yourself right is vital.
Check out my YouTube video on how to set an indoor cycle!
In this article, we’re going to be running through our step-by-step guide on how to properly set up your bike so you get the most out of your spinning session. Here’s what we will be discussing:
- Why Is The Correct Setup So Important?
- Setting Saddle Height
- Setting Handlebar Height
- Setting The Handlebar Reach
- Top Tips For Setting Your Spin Bike Up
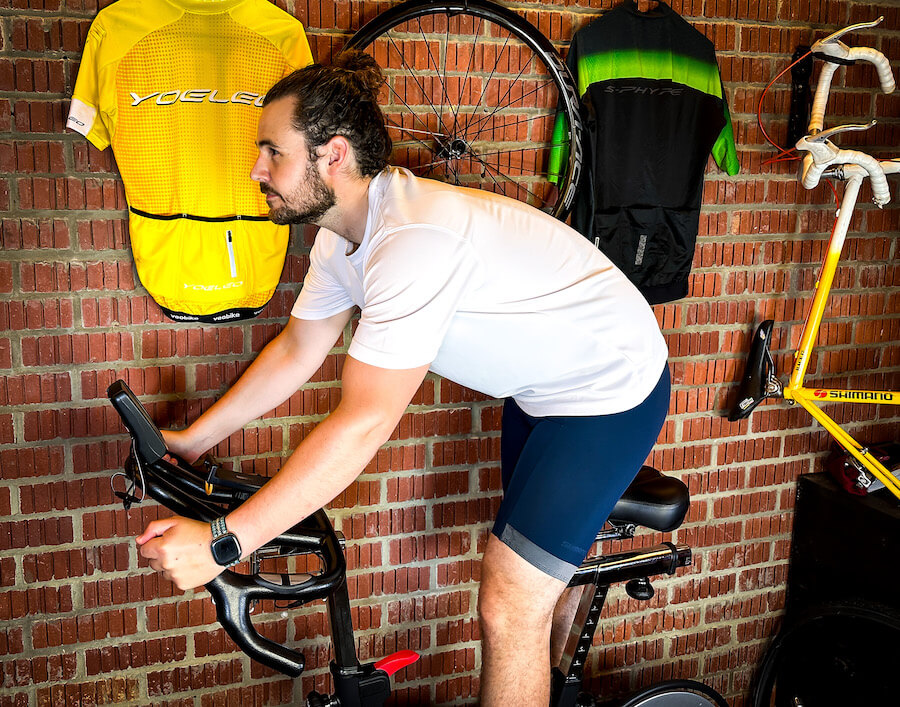
Why Is The Correct Setup So Important?
Getting to a spin class early and ensuring you are set up correctly is so important. Here’s why it’s vital you are set up properly:
Comfort
The first reason you need to set up correctly is comfort. If the saddle height and reach aren’t right, it’s going to be pretty uncomfortable, and you will be counting down the minutes until you can get off at the end of the session.
Efficiency
Next, we have efficiency. If you are in the wrong position, you won’t be pedaling efficiently, which will lose you power. You are going to be working much harder for all the wrong reasons.
Injury Prevention
If you are in the wrong position and pushing yourself to the very limit, then there’s a strong chance you will get an injury. Being set up correctly means there’s much less chance of this.
Setting Our Measurements
Now it’s time to start setting our bike up. Spin bikes come in all different shapes and sizes, so we need simple but foolproof methods. As a bike fitter, we are going to be a little more in-depth than a typical spin instructor might be.
Setting Saddle Height
The first place to start is by setting the correct saddle height. This is the most important measurement for the bike and one you really want to get correct, as it can play havoc on the knees if not.
Start by standing next to the bike and put the saddle at the same level as your hip. Once all adjust and tightened up, jump on and have a quick 10-second pedal. This is a rough start, and we must take the setup further.
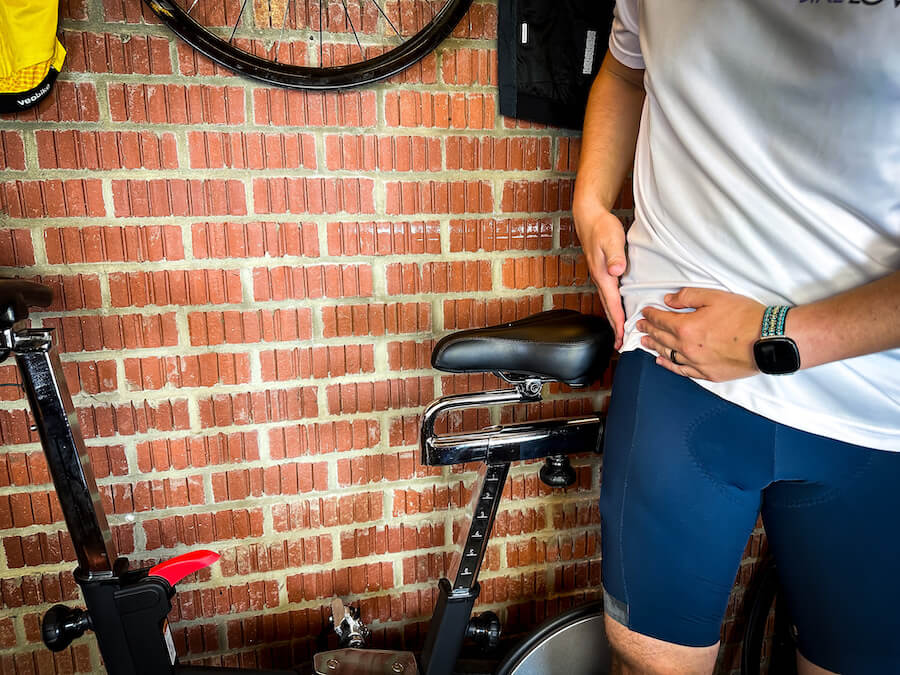
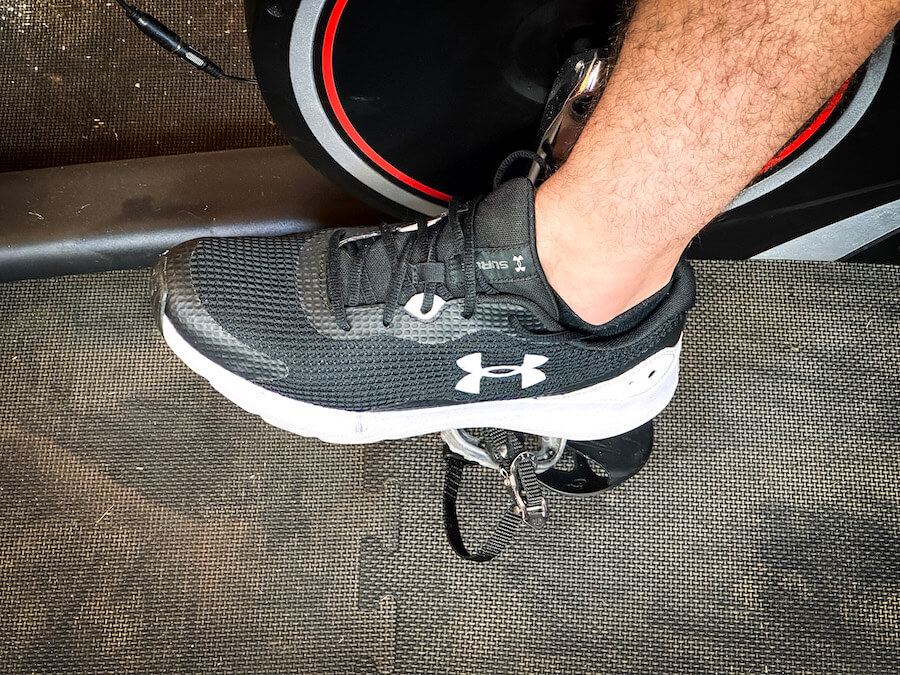
From the natural pedaling position, you are now going to want to remove your foot from the clip-in or strap. Then, place your heel on the pedal over the spindle. In this position, your leg should be straight and bum firm on the saddle. If so, this is perfect, and you have the correct saddle height.
If there’s a bend in the knee, you will need to take the saddle higher until it’s straight. If you’re rolling off the side of the saddle trying to reach the pedal, then you will need to go a little lower. Finding your correct saddle height is as simple as that.
Setting Handlebar Height
Next, we are going to set the handlebar height. This is going to be more personal compared to some of the other measurements. It also makes a big difference what bike you’re on compared to how high the handlebars should be.
I recommend starting with putting the handlebars at the same height as the saddle. Jump on the bike and see how it feels. If you like a more relaxed position, then you might want to make them higher. If you like a more aggressive position like an outdoor cyclist might enjoy, then you should go lower.
After adjusting the height, you might feel that the handlebars feel a little further away or a little too close. This is because the height can adjust this. Don’t worry too much. We are going to be fixing that next when we speak about setting the reach.
Setting The Reach
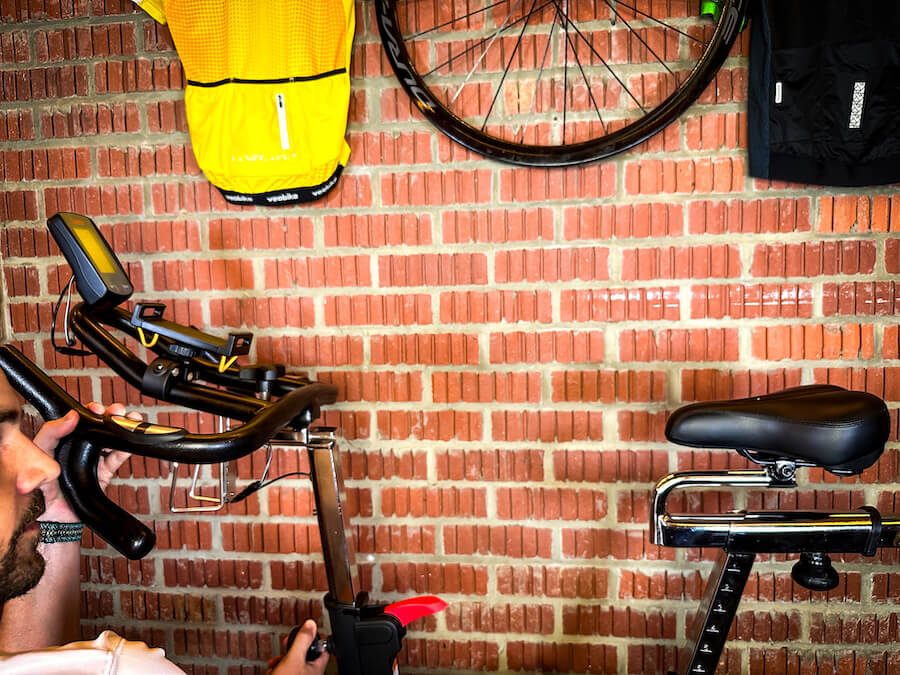
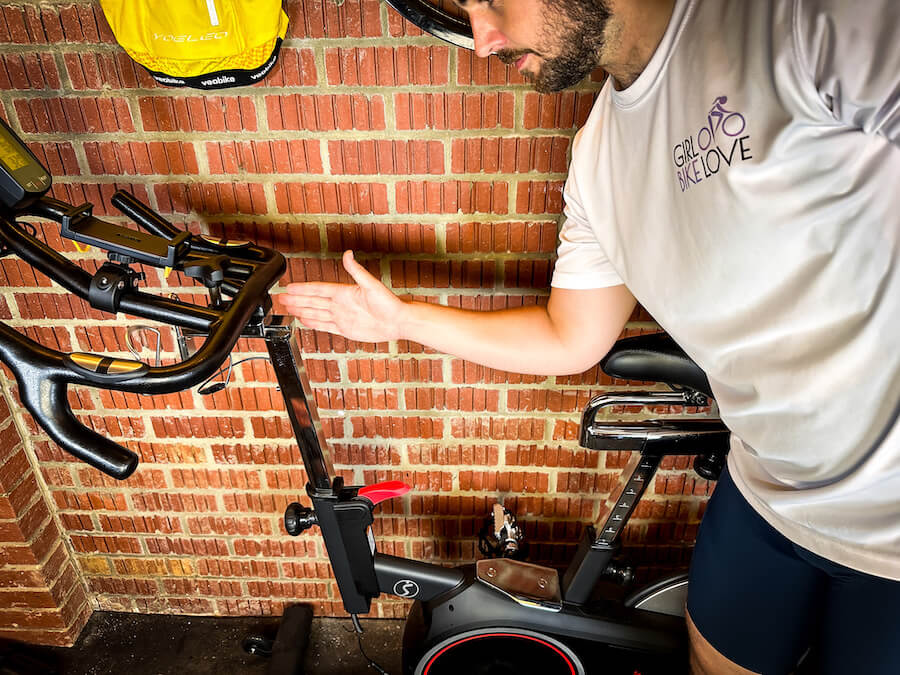
Now, it’s time for us to set the reach. This is how far forward you need to reach to hold the handlebars. Too far, and you are stretched out, too close, and you are too upright.
The first step is to put your elbow on the front of the saddle, and then your fingertips should be able to touch the start of the bars. If it doesn’t, you will want to adjust it now before the next step.
Then jump on the bike and see how comfortable it feels. Ensure your hands are in the main position on the handlebars in the center between the climbing handles and the comfort grip as if you were on a road bike.
In a perfect world, what you are looking for is for you to be fairly straight from the hips to the shoulders, then shoulders to hands. This will make it easy to transition from sitting to standing and ensure you avoid back or shoulder pain.
Top Tips Setting Your Spin Bike Up
Here are a few top tips for setting your bike up aside from getting the correct position. Here’s what you need to know.
Check Everything Is Tight
It’s really easy to jump on the bike, start training, and then have to get off 5 minutes later because you forgot to ensure everything was tight. It’s always worth checking, as it only takes 20 seconds and can avoid so much hassle.
Always Allow For Time To Set Up
When getting on the bike at home or even in the spin studio, you must allow time to get ready. The worst start to a spinning session is when you haven’t set it up correctly, and either are jumping off and losing time or having an uncomfortable ride.
Check If The Bike Is Level
Bikes often get moved around, meaning they sometimes come out of level. Not only does this make the bike sway side to side, but it also makes a clicking noise. Check your bike is level, and if it isn’t, then unscrew the floor levelers to even it out.

A Final Note
Setting up your bike is an important part of a spinning session. Not only will it improve the experience, but it will also increase performance and prevent you from getting injuries. Thanks for taking the time to read our article. Make sure to enjoy the video on the YouTube channel.
