When it comes to indoor cycling at home, the Peloton bike completely revolutionized the market. No more getting in the car and driving to a spinning studio, no more watching YouTube videos for your training fix, and when Covid hit, it gave so many people an option to stay fit without having gyms available. When I first heard about Peloton, I went to their website to research and thought it was incredible. Then I saw the price, and although it was a fantastic training tool, it was double the price of my gym membership just for the subscription. Then you have to buy the bike, which at the time was $2500.
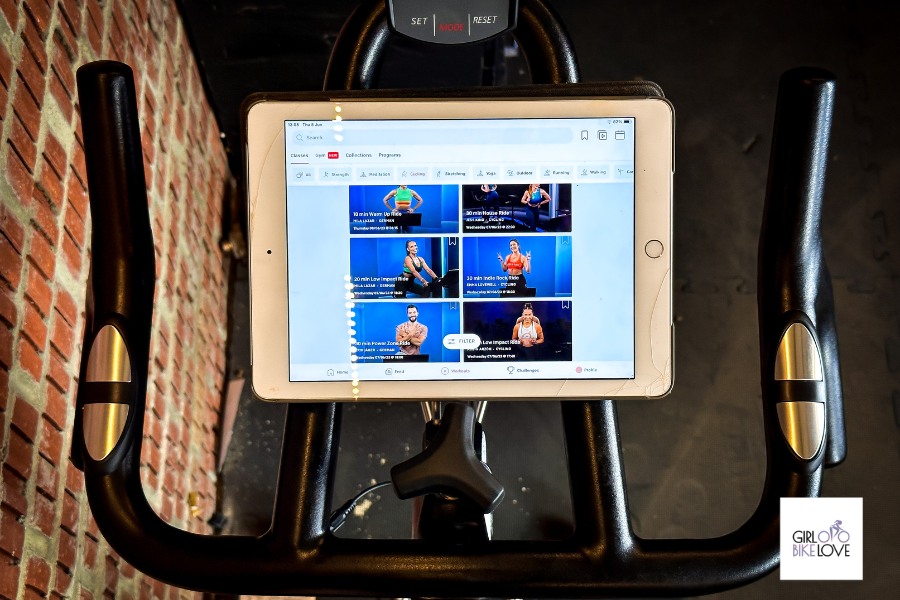
This made me question if it was worth that money, as it’s a significant investment. There’s another route you can go down, using the Peloton app with a different bike. Peloton has an app that you can do all the classes on with any indoor bike for much less than half the subscription cost of the Peloton Bike. It’s not as simple to use as that. There are some significant advantages and disadvantages using the application without the bike, and in this article, I want to speak about them and tell you how to build a DIY Peloton bike.
Benefits
Disadvantages
Peloton bike Alternatives
It goes without saying you’re going to need another bike to spin on. The Peloton bike is a fantastic bit of kit, but it isn’t the cheapest of bikes. When looking at alternatives, you still want to get something good to give yourself a pleasant experience while you are training. It is possible to spend as little as $150 all the way up to $3000 on a decent spinning bike. It is definitely worth thinking about a budget for what you want to spend. An excellent tip is to go for a spinning-style bike, not an exercise-style bike. An exercise bike is made for sitting the majority of the time. A spinning bike is made for regular standing and will be much more comfortable. Here we have two recommendations for you, one on the higher end of the market and one on the lower.
Related:
Best Spin Bikes to Use with the Peloton App
What Extra Equipment will I need to buy?
As mentioned before, when making a do-it-yourself Peloton with just the application, you will find yourself needing a few extra bits to complete the setup work. To get the most out of the Peloton App, having specific data will enhance the user experience. So what do we need?
Heart Rate Monitor
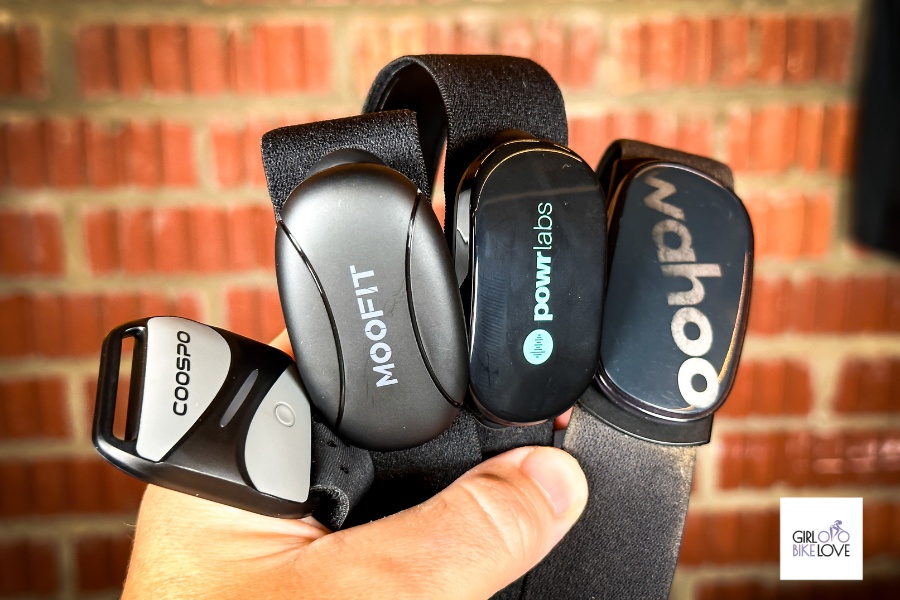
Although you don’t need to see your heart rate while working out, it helps. An excellent guide to finding out how hard you are working is seeing how close you are to your maximum heart rate. Your maximum heart rate usually is close to 220 minus your age. For example, if you are 30, your maximum heart rate will roughly be 190. This is a rough guide, and many find their heart rate lower or higher than this recommendation. Using this figure, you can make yourself zones that help you work out if you are training endurance, fat burning, or high intensity. If you have an Apple Watch, this will work as a heart rate monitor using an IOS Device.
Cadence Sensor
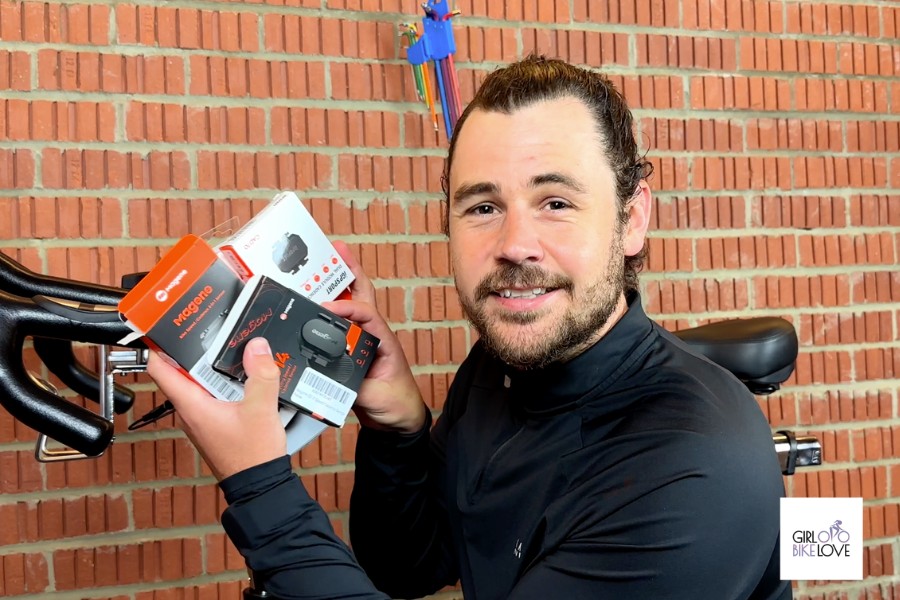
Your cadence is how quickly you are peddling the bike. For example, if you put your foot to the bottom of the pedal stroke and do a full rotation, that is what we call a revolution. RPM or Speed, as Peloton calls it, works on a number. This number is how many revolutions per minute you are doing. This is handy information to have in the classes as instructors will often refer to this. You can find many cadence sensors for less than $30.
Weights
Unfortunately, most spinning bikes don’t come with weights. I can highly recommend buying so as a lot of the upper bodywork on the Peloton Classes requires you to use weights. Doing upper bodywork in a spin class can break up the work and make the ride feel much more manageable.
Tablet or Device
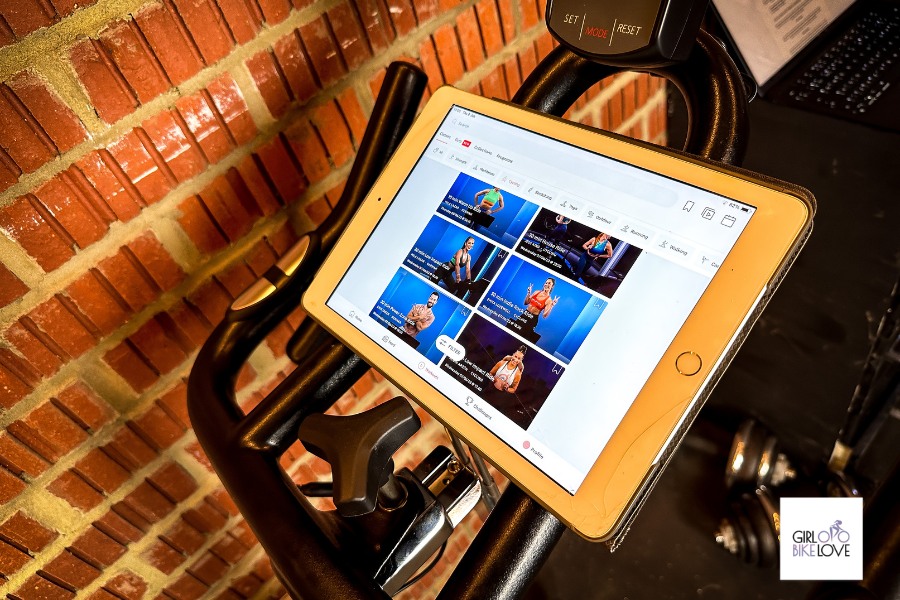
Although it’s acceptable using your phone to do the classes, you will find you will get a much better experience by using a bigger screen. I can highly recommend investing in a tablet or iPad, or even Apple TV. This will make the screen much easier to see, and the instructions will be much more straightforward.
Pedals
Basic spinning bikes will only come with flat pedals. Peloton bikes come with clip-in pedals. I would highly recommend using clip-in shoes as this helps pedal efficiency and offers a much better position for your knees while riding.
Although many of these things you might have already, you can start to push up the cost of making a home Peloton set up quite quickly. It will still be much cheaper than a Peloton overall and provide a very similar experience, but it can be a surprise at the time. Make sure to check the compatibility of the devices you are using with the sensors you are using. So make sure they both support Bluetooth or ANT+. I would recommend Bluetooth connections over ANT+.
How to connect the Peloton App to your equipment
So you now have a Heart Rate Monitor and Cadence sensor, and you’re wondering how to connect it all up to the application. Well, it’s pretty easy. Make sure your cadence sensor is on your pedal arm, and your heart rate monitor is where it is required to be on your body. Start up the application and get into a class and start pedaling. This will activate your cadence sensor and your heart rate monitor. Once these are on, you have a sensors button on the right-hand side of the class screen. Click this and select each one for connection, and you are good to go.
Where can I view the Peloton App while riding?
Quite commonly, people use a tablet or phone in front of them. If you are looking for a better experience, you can cast it to your TV with your phone or tablet. The Peloton app also works with Apple TV or sends it to your TV via Chromecast.
What resistance level is my bike compared to the Peloton?
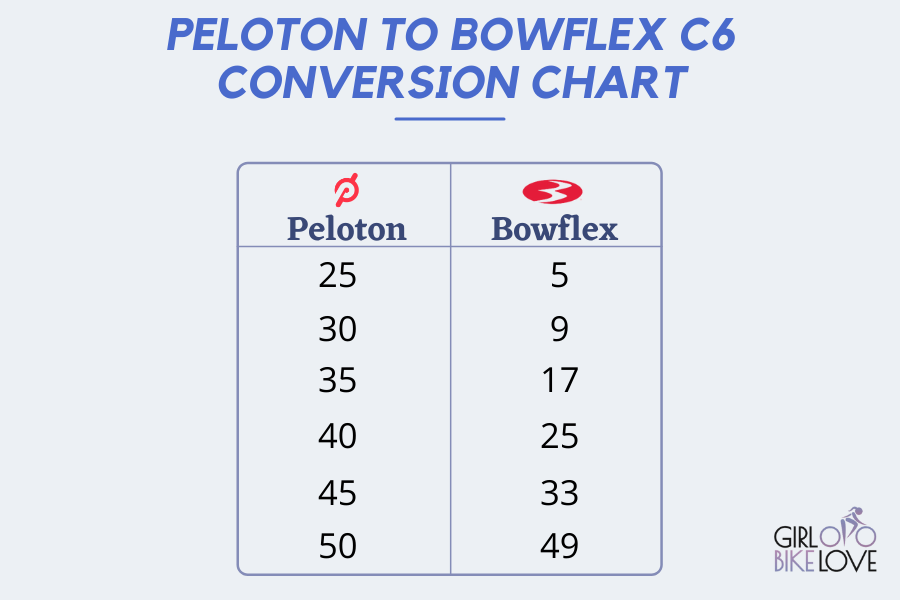
A Peloton bike has resistance levels, but most spinning bikes don’t. They will have a dial in front of you, and you will have to estimate the level yourself. Certain bikes like the Bowflex have resistance levels. If you are looking to use a bike such as a Bowflex, you can use a conversion chart like the one here to help you connect to the class more.
Do I need clip-in Shoes and Pedals to use a Peloton?
You do not, but it does enhance the experience of riding the bike. It connects you much more and promotes a much better pedal stroke compared to just using flat pedals. It will also feel much better on your feet. I can highly recommend making sure you get the cleats on the bottom of the shoes set up correctly before you start. Search on YouTube for a guide, and that will get you roughly in place. If you start getting knee pain, recheck your saddle height and cleats.
Related:
Indoor Cycling Pedals, Cleats & Shoe Types
What is included in the Peloton Application?
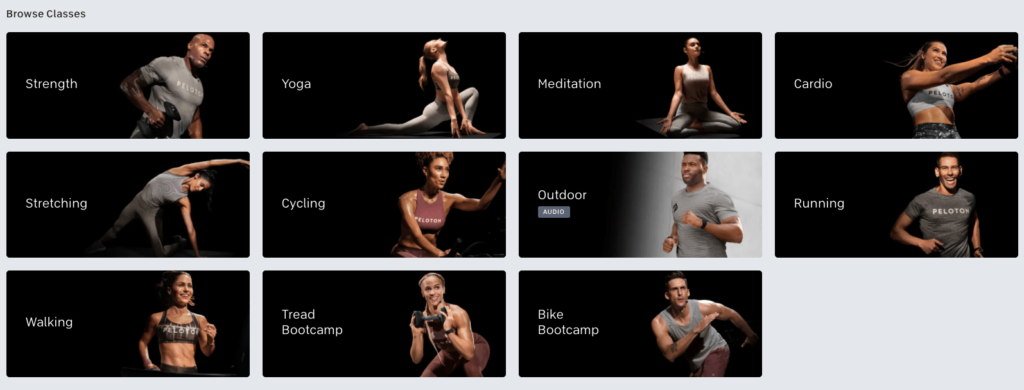
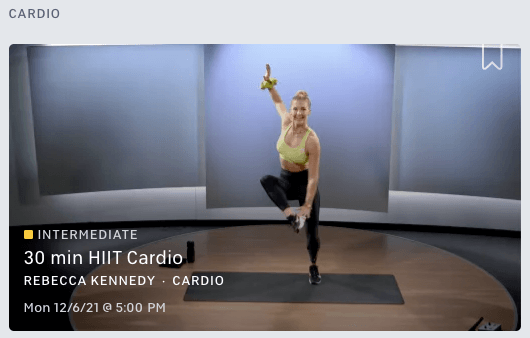
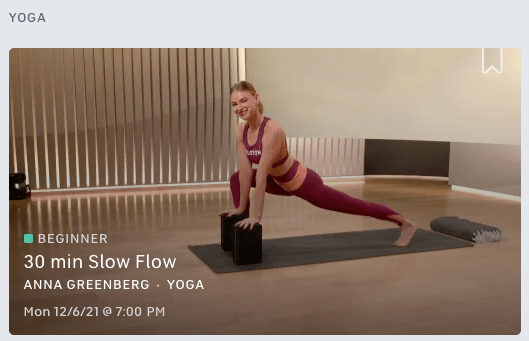

The Peloton app isn’t just cycling. It has Treadmill workouts, Bodyweight classes, Bootcamp classes, Stretching, Yoga, and even outdoor running programs. I know many of my friends purely use it for all the other features available. They have thousands of classes to suit all types of users and offer so much for such a little cost each month.
What other Applications work with the Peloton App?
You can link so many applications to the Peloton app. Fitness applications such as Fitbit, Strava, Apple Health, and the Apple Watch will link up. We can use applications such as these to assess our workouts after we have done them. They can give you more data than the Peloton application and help you track your fitness journey closer.
How to measure your performance with the Peloton App
Using applications like Strava, you can look back at your workouts to see if you are progressing with your fitness. If you were to repeat a class from months ago, you see a few differences that show progression. For example, doing the same workout from months ago at the same level of resistance and seeing a lower heart rate is an excellent indication of your fitness improving. Also, you might find yourself working at higher levels of resistance for the same heart rate, which again is another great indication of your fitness getting better. You might even find yourself burning more calories each ride, meaning you are gaining the ability to bring your heart rate much higher.
Conclusion
I personally feel the Peloton bike is good value for money, but it doesn’t fit into everyone’s budget. I would instead go down the route of building your own Peloton using the app, and the money I save invest elsewhere. You might find that might be all you want to spend on your fitness, or you might want to invest more elsewhere, such as in a gym membership or Personal Training Session once every so often.
