Indoor cycling is a lot of fun, and for many, the bike becomes a big part of their life and daily routine. What a lot of indoor cyclists don’t know is there’s a lot you can do to your bike to customize it to yourself to improve the experience.
One thing many cyclists change when it comes to an indoor bike is the pedals. It’s incredibly easy to do and can open you up to different shoes and even more data to help improve your training. In this article, were going to be discussing:
- Why Upgrade Your Spin Bike Pedals?
- What Do You Need To Change Spin Bike Pedals?
- How To Change Spin Bike Pedals, Our Step-By-Step Guide (Includes my video)
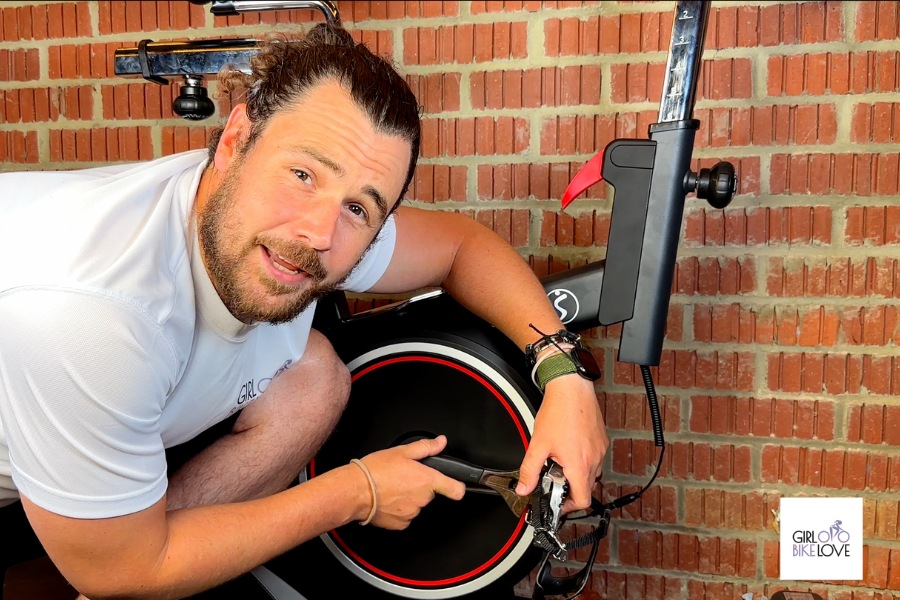
Why Upgrade Your Spin Bike Pedals?
There are many reasons why you are going to want to upgrade your spinning bike pedals. Here’s what you need to know:
1. Different Pedal Types
The first thing to mention is you have different pedal types to suit different shoes and cleats you might want to upgrade to. Here are the main different types of clip-in pedals you have available.
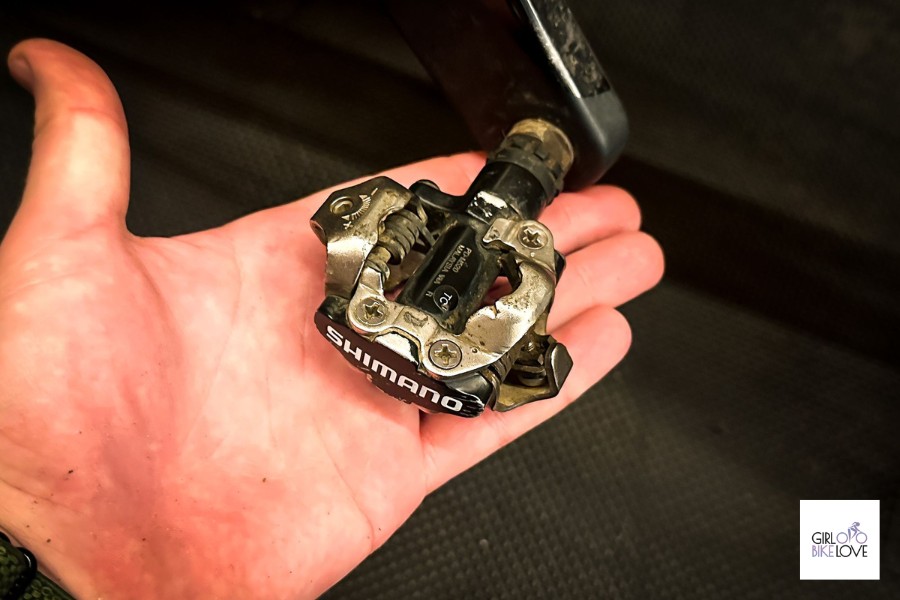
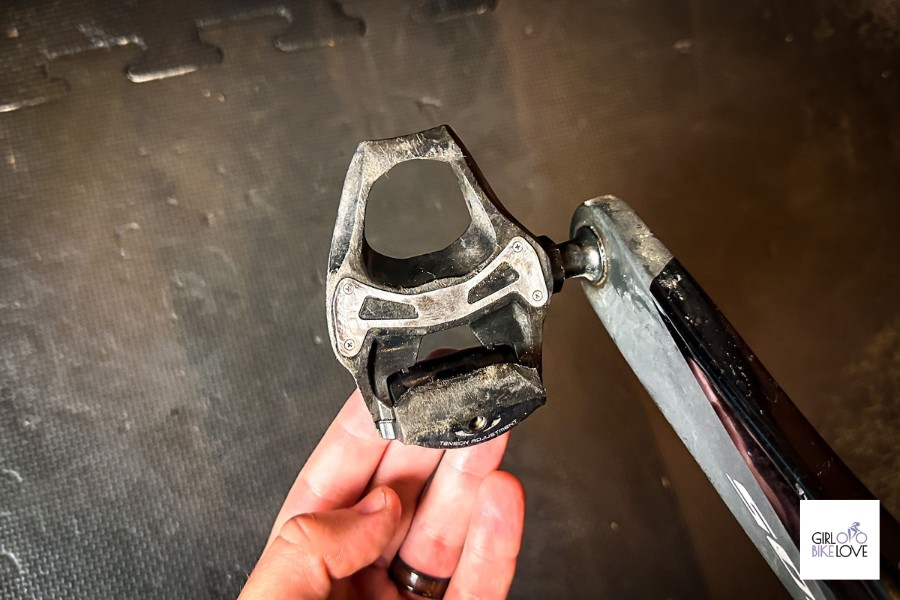
SPD
Often referred to as mountain bike cleats, these pedals use small metal cleats to clip into. They offer a wide range of movement while keeping you clipped in and are very hard-wearing. These attach via a 2 bolt system on the bottom of the shoe.
SPD-SL
SPD-SLs are known as road bike pedals. They are wider, made of plastic, and offer a bigger base for the shoe. These attach via a three-bolt system and are not uncommon on spinning bikes but not as popular as SPD.
Look Delta
Look Delta pedals are typically what come with the Peloton clip-in system. They attach to a shoe the same as an SPD-SL three-bolt cleat and offer a great indoor cycling experience with small wide cleats and lightweight pedals.
2. Power Meter Pedals
You might want to consider upgrading to power meter pedals. These pedals are special because they have a strain gauge built into them. This can measure the force of how hard you are pushing on the pedals.
By installing a set of these to your spinning bike, you will be able to get power meter data which means applications such as Zwift are going to be usable. This is the route many cyclists go down instead of buying a turbo trainer.
3. To Replace Worn Out Pedals
Over time pedals can wear out. You might notice they have some play in them or even find they start clicking when you use them. Not only can this ruin the cycling experience, but it isn’t very pleasant.
Changing out the bad pedals will give your bike a lovely new feel and is incredibly easy to do. We recommend changing pedals after a lot of use or a couple of years to ensure they are in tip-top condition.
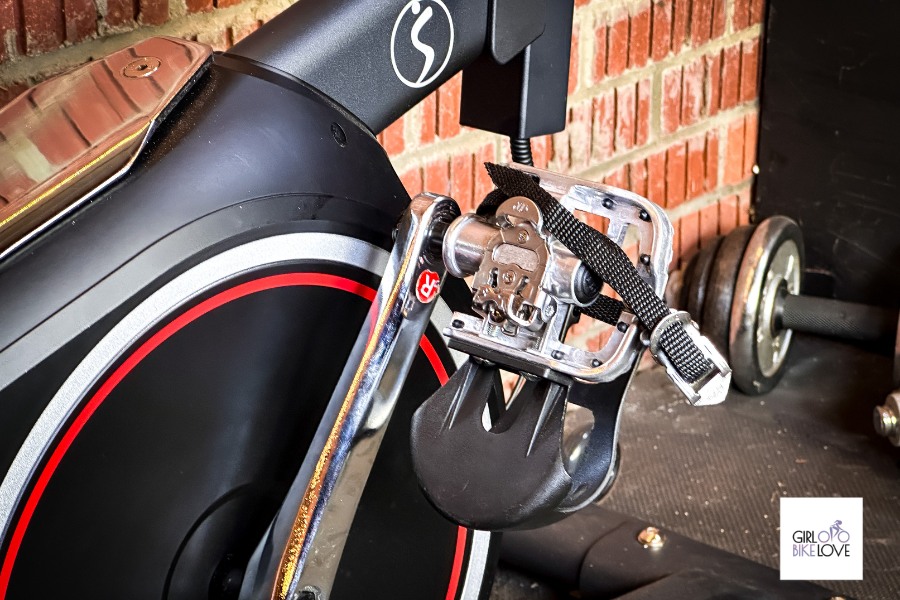
What Do You Need To Change Spin Bike Pedals?
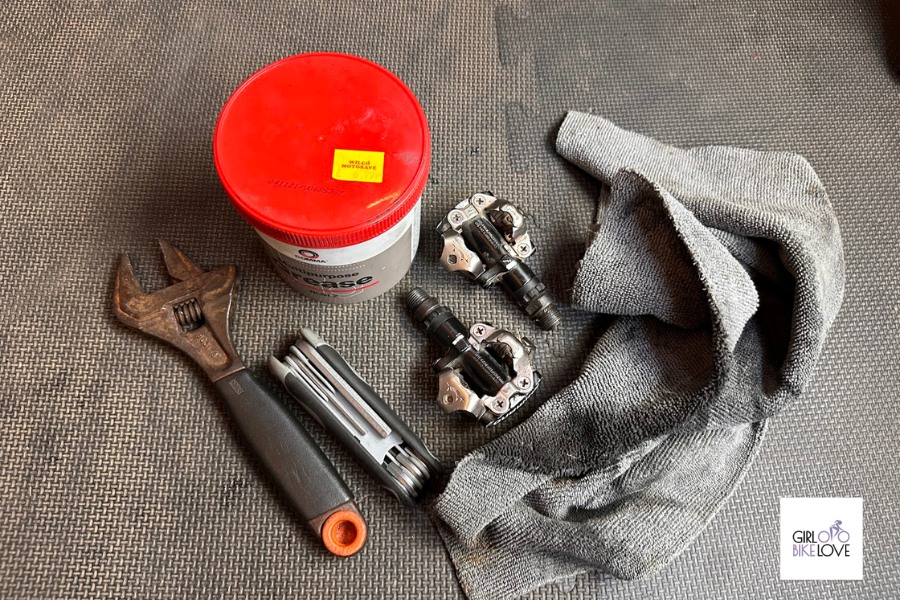
When it comes to changing pedals, you don’t need much. Depending on the type of pedals, you might need different tools, here’s what you need:
- Allen Keys
- Pedal spanner
- Grease (Optional)
How To Change Spin Bike Pedals, Our Step-By-Step Guide
Now for the exciting part. Changing your pedals will only take about 5 minutes, and we recommend taking your time and following each step in order.
Check out my YouTube video!
Step One: Remove The Old Pedals
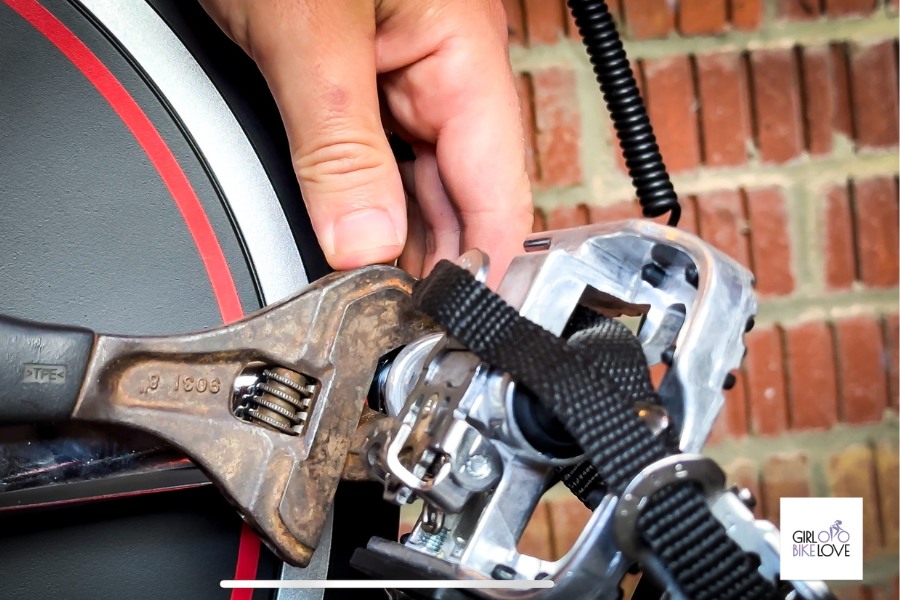
The first step is to remove the bike’s pedals. The best tool to use is a pedal spanner unless there’s no grip, and you have to use Allen keys on the rear. What’s important to understand the way pedals undo, as each side is different.
The easiest way to remember this is to put the pedal at 3 o’clock, attach the spanner pointing toward the back of the bike, and press downward. This method correctly loosens the pedals. If they are very tight, you might need to put a good bit of force in.
Step Two: Clean and Grease
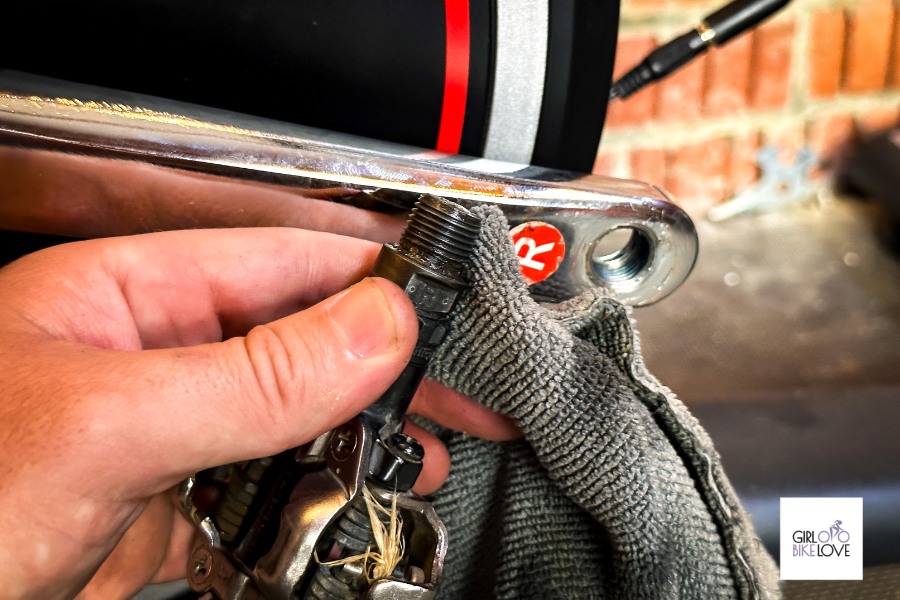
Next, you are going to want to clean the threads from where the pedals came out. You can do this with a cloth, don’t worry if it’s dirty as generally these are greased and can pick up dirt over time.
Once clean, you will want to get your new pedals and put a little bit of grease on each of the threads. Then use the cloth to run it around, spreading it evenly. Now we recommend putting the left pedal on the left side of the bike and the right on the right so they don’t get mixed up.
Step Three: Insert The New Pedals
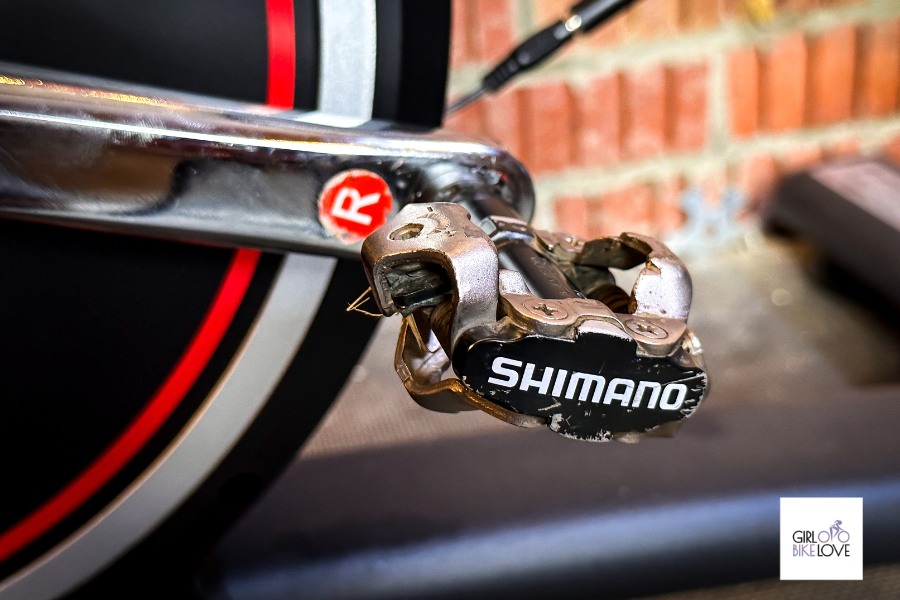
Now you are going to want to get the new pedals in. The easiest way to know which way they are going in is to screw the pedal in towards the front of the bike, opposite to how you undid them. We recommend only using your hands to start with to avoid cross-threading.
Once the finger is tight, take the pedal spanner or Allen key and tighten the pedals. You’ll want to put some force in and ensure they nip up well without going too much so that they won’t come loose in the future.
A Final Note
Now you know how to tighten the pedals on a spin bike. We hope you enjoyed our article. Don’t forget to check out the video as well on the Indoor Cycling Love YouTube Channel.
